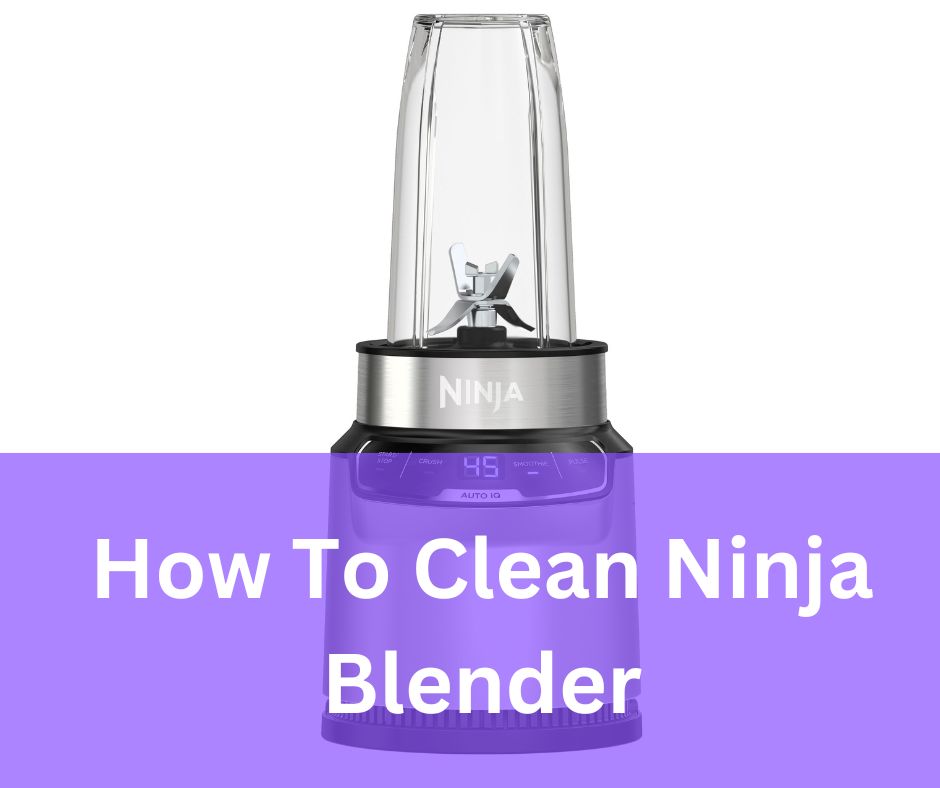
It might be frightening to clean a Ninja blender, especially if you’ve never done it before. However, it’s actually pretty simple to restore your Ninja blender to its original condition with the correct equipment and a little elbow work. We’ll go through how to properly clean your Ninja blender in this post so you can maintain it functioning properly and blending to perfection.
How To Clean Ninja Blender

Method#1 How To Clean Ninja Blender With A Dishwasher:
Make sure all of the blender’s components are dishwasher-safe before you wash your Ninja blender in the dishwasher. Look for a sign indicating that the blender parts are dishwasher-safe or see the manufacturer’s instructions. If every component is dishwasher-safe, proceed as follows:
- Any leftover food or debris should be cleared out of the blender’s jar, blade, and lid. To remove any stuck-on pieces, use a soft sponge or brush.
- To get rid of any leftover food or debris, thoroughly rinse the blender’s components under warm water.
- The top rack of the dishwasher should be used to place the blender jar, blade, and lid. To prevent harm, make sure they are not obstructing the sprayer’s arm and that the blade is pointed downward.
- Run a regular cycle of the dishwasher while using a gentle detergent.
- After the cycle is complete, gently take the blender pieces out of the dishwasher and completely dry them.
- The blender is now ready for use after being reassembled.
Method#2 How We Can Clean The Ninja Blender Using The Ninja Blender Self-cleaning System.
If your Ninja blender has a self-cleaning system, you can use it to easily clean the blender jar and blade. Here’s how:
- Warm water and a few dish soap droplets should be added to the blender’s container.
- Attach the lid after setting the jar on the base of the mixer.
- Select the “Clean” program on the blender control panel or press the “Clean” button on the blender base (if available).
- The water and soap combination will begin to combine in the blender as the blade scrubs the interior of the jar to get rid of any stuck-on food or stains.
- Following the completion of the cleaning procedure, gently remove the jar from the base of the blender and give it a good rinsing with warm water. Before reinserting them into the blender base, dry the jar and blade.
Method#3 How We Can Clean The Ninja Blender Using The Handwash Method
To clean your Ninja blender by hand, you’ll need the following items:
- Warm water
- Dish soap
- A soft sponge or brush
- A clean cloth or towel
Here’s how to hand wash your Ninja blender:
- Any leftover food or debris should be cleared out of the blender’s jar, blade, and lid. To remove any stuck-on pieces, use a soft sponge or brush.
- Warm water and a few dish soap droplets should be added to the blender’s container.
- Attach the lid after setting the jar on the base of the mixer.
- To assist remove any stains or stuck-on food, blend the water and soap mixture briefly on high speed.
- Remove the jar from the base of the blender with care, then give it a good rinsing with warm water.
- Scrub the interior of the jar, blade, and lid with the sponge or brush, giving special attention to any food that may have clung to any stains.
- Rinse all parts thoroughly under warm water and dry with a clean cloth or towel.
- Reassemble the blender and it is now ready to use.
Why You Should Regularly Clean Your Ninja Blender
There are a few reasons why it’s important to regularly clean your Ninja blender:
- Hygiene: Over time, food particles and germs can accumulate in your blender, posing a risk to your health if not properly cleaned. Keeping your blender clean and safe to use can assist to avoid the growth of bacteria and other pathogens.
- Performance: The effectiveness of the blender may be hampered by its filth. When there are food crumbs in the blade or jar, blending will be uneven and less effective. Regular cleaning will improve the efficiency and smoothness of your blender.
- Longevity: Regular cleaning and proper upkeep might assist to increase the lifespan of your blender. You can prevent wear and tear on the blender parts and keep them in excellent operating order by removing stuck-on food and debris.
- Visual appeal: A clean blender is just more appealing to look at and operate. Your blender will seem newer if you clean it frequently.
How we can remove the tough stubborn stains of ninja blender
Using Distilled White Vinegar:
To remove tough, stubborn stains from your Ninja blender using distilled white vinegar, follow these steps:
- Equal quantities of water and distilled white vinegar should be added to the blender jar.
- Attach the lid after setting the jar on the base of the mixer.
- For a brief period of time, blend the liquid vigorously to help break up any stains or food residue.
- To allow the vinegar solution to permeate and eliminate the stains, carefully remove the jar from the blender base and set it aside for at least 30 minutes.
- Scrub the interior of the jar, blade, and lid with a gentle sponge or brush, giving special attention to any stubborn stains.
- Thoroughly rinse each component in warm water, then pat dry with a fresh cloth or towel.
- The blender is now ready for use after being reassembled.
Using A Magic Eraser We Can Clean The Ninja Blender:
I used a Magic Eraser to clean my Ninja blender and it worked great! Here’s what I did:
- Squeeze out any extra water after wetting the Magic Eraser.
- Apply a little pressure while you use the Magic Eraser to gently clean the interior of the blender’s jar, blade, and lid to get rid of any stuck-on food or stains.
- Clean a clean cloth or towel and thoroughly rinse the blender’s components under warm water.
- The blender is now ready for use after being reassembled.
My blender was left looking like new after using the Magic Eraser to erase any stubborn stains. It was a simple and quick way to clean my blender without using damaging chemicals. Just be careful not to use the Magic Eraser too vigorously; it is an extremely abrasive cleanser and might potentially scratch some surfaces.
How to remove the bad odor of ninja blender
If your Ninja blender has a bad odor that you want to remove, there are a few things you can try:
- White vinegar and water in equal amounts should be blended. The vinegar will aid in eliminating any bacteria that may be responsible for the stench and any remaining odors.
- After blending with the vinegar mixture, carefully clean and dry the blender.
- You can attempt soaking the blender’s jar, blade, and lid in a solution of hot water and dish detergent for a few hours or overnight if the smell doesn’t go away. Use a soft sponge or brush to gently scrub the areas to get rid of any food or stains that may be causing the stench. Thoroughly rinse and blot dry.
- After attempting these remedies, if the smell persists you might need to use a more potent cleaner, such as baking soda paste. Apply a thin layer of a paste made of baking soda and water to the interior of the blender’s jar, blade, and lid. Allow it to rest for several hours or overnight, then gently scrub and thoroughly rinse.
DEEP-CLEANING ALL PARTS OF YOUR NINJA BLENDER
To deep clean all parts of your Ninja blender, including the blade assembly, gasket seal, centering pad, and motor base, you’ll need the following items:
- Warm water
- Dish soap
- A soft sponge or brush
- A clean cloth or towel
Here’s how to deep clean your Ninja blender:
- Blade assembly: Take the blender’s blade assembly out of the jar and give it a warm water rinse to get rid of any leftover food or dirt. Scrub away any stains or food that has become adhered with the sponge or brush. Thoroughly rinse the blade assembly, then pat it dry with a fresh towel or cloth.
- Gasket Seal: The rubber ring that aids in forming a tight seal between the blender jar and the base is known as the gasket seal. Remove the gasket seal from the blender jar and give it a warm water rinse to clean it. Scrub any dirt or stains carefully with the sponge or brush. Thoroughly rinse the gasket seal, then pat it dry with a fresh towel or cloth.
- Little Rubber Pad: Keeping the blender jar centered on the base is made easier by the centering pad, a little rubber pad that is situated on the bottom of the jar. Remove the centering pad from the blender jar and give it a warm water rinse to clean it. Scrub any dirt or stains carefully with the sponge or brush. The centering pad should be completely rinsed and dried with a fresh towel or cloth.
- Power source: Use a wet cloth to remove any more food or dirt from the motor base. Avoid getting water on any electrical components or into the base. With an impeccable cloth or towel, completely dry the foundation
Conclusion:
In conclusion, maintaining the functionality, cleanliness, and look of your Ninja blender requires routine cleaning. You may simply clean your blender using a variety of techniques, such as the self-cleaning feature (if available), hand washing, or using the dishwasher, by adhering to the instructions provided on this page. You’ll be able to successfully maintain your blender and keep it functioning smoothly whether you have a fast clean-up or a comprehensive cleaning in mind.


