Blenders are undeniably handy kitchen appliances, simplifying the process of creating smoothies, soups, and more. However, there are situations where a blender might not be readily available, whether due to cost, lack of electricity, or simply not having one on hand. The good news is that you can still achieve blending-like results with a touch of ingenuity and some practical techniques. In this comprehensive guide, we’ll explore the art of how to blend without a blender by sharing creative solutions and methods that prove that a lack of a blender should never stand in the way of culinary creativity. Stay with us for a wealth of blending alternatives and techniques to elevate your kitchen skills.
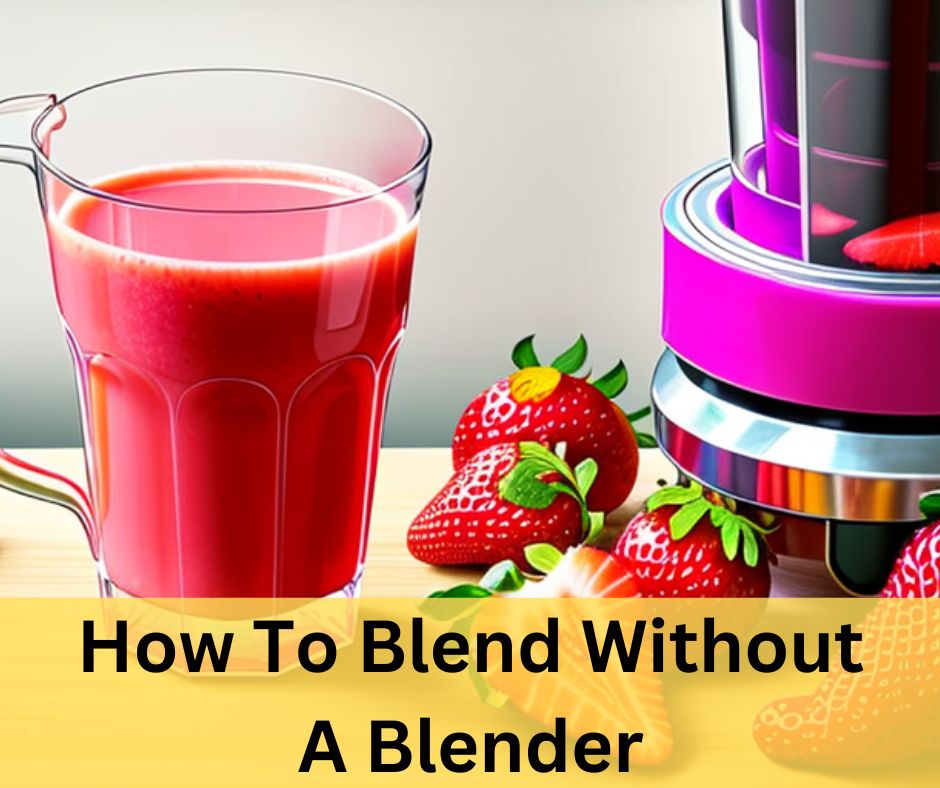
How To Blend Without A Blender
Method 1# Blend Food using different kitchen tools
You can blend food without a traditional blender by utilizing various kitchen tools. Here are some kitchen tools you can use for blending and a step-by-step process for blending food:
Kitchen Tools for Blending Without a Blender:
- Whisk or Egg Beater: Suitable for mixing and blending small quantities of ingredients.
- Mortar and Pestle: Ideal for grinding and blending spices, herbs, and small quantities of solid ingredients.
- Immersion Blender (Stick Blender): Provides a handheld blending option for soups, sauces, and smaller batches.
- Food Processor: Works well for chopping, pureeing, and blending larger quantities of ingredients.
- Stand Mixer with Paddle Attachment: Useful for creaming and blending ingredients for baking.
Step-by-Step Process for Blending Without a Blender:
Step 1: Choose the Right Tool
- Select the appropriate kitchen tool based on the quantity and type of ingredients you need to blend. For small amounts of liquids, a whisk or immersion blender may suffice. For larger quantities, consider a food processor or stand mixer.
Step 2: Prepare Your Ingredients
- Ensure that your ingredients are cleaned, peeled, and cut into manageable pieces if necessary. This preparation step ensures smoother blending.
Step 3: Whisk or Stir
- For liquids or small amounts of ingredients, use a whisk or spoon to vigorously stir or whisk the ingredients together in a circular motion. This method is suitable for making dressings, sauces, or beverages.
Step 4: Mortar and Pestle
- If you need to blend spices, herbs, or small quantities of solid ingredients, use a mortar and pestle. Grind and crush the ingredients in a circular motion until you achieve the desired consistency.
Step 5: Immersion Blender
- For blending soups, sauces, or other liquid-based recipes, use an immersion blender. Place the immersion blender into the mixture and blend in an up-and-down motion until the ingredients are smooth and well combined.
Step 6: Food Processor
- When dealing with larger quantities of ingredients or more substantial food items, like nuts or vegetables, use a food processor. Add the ingredients to the food processor bowl, attach the blade, and pulse or process until you achieve the desired texture or consistency.
Step 7: Stand Mixer
- If you’re blending ingredients for baking, such as creaming butter and sugar, use a stand mixer with a paddle attachment. Mix the ingredients at the recommended speed until they are thoroughly combined and creamy.
Step 8: Adjust Consistency
- As you blend, periodically check the consistency of your mixture. Add more liquid if needed for smoother blending or adjust other ingredients as required to achieve your desired outcome.
Step 9: Clean and Store Tools
- After blending, clean the kitchen tools promptly. Most kitchen tools can be disassembled and washed in warm, soapy water. Dry them thoroughly and store them properly for future use.
Method 2#Hand-mixing techniques are essential skills for blending food without a blender.
Here’s a step-by-step process for blending using various kitchen tools and hand-mixing techniques:
Tools You’ll Need:
- Whisk: Suitable for mixing and incorporating air into liquids.
- Spoon: Ideal for gently stirring, folding, and mixing.
- Fork: Useful for mashing, breaking down, and mixing solid ingredients.
- Potato Masher: Great for mashing soft vegetables and fruits.
- Pastry Cutter: Effective for cutting fat into flour for baking.
- Wooden Spoon: Suitable for mixing and stirring in pots and pans.
- Knife: For chopping, mincing, and cutting ingredients.
Chef’s Knife: Ideal for precise chopping and mincing.
Step-by-Step Process for Hand Mixing and Blending:
Step 1: Prepare Your Ingredients
- Ensure all ingredients are properly prepared, cleaned, peeled, and cut as necessary. Having everything ready before you start is essential.
Step 2: Choose the Right Technique
- Depending on the recipe and the texture you want to achieve, select the appropriate hand-mixing technique.
Step 3: Whisking
- Use a whisk to combine ingredients thoroughly, incorporating air into the mixture. This technique is ideal for making dressings, sauces, and batters.
- Hold the whisk with one hand and the bowl with the other. Move the whisk in a circular motion, ensuring it reaches all parts of the mixture.
Step 4: Stirring
- When mixing ingredients in a bowl or pot, use a spoon or wooden spoon for gentle stirring. Stir in a circular motion or back and forth to ensure even distribution.
- If you need to fold ingredients together without deflating them, use a gentle stirring motion.
Step 5: Mashing
- To mash ingredients like potatoes, avocado, or bananas, use a fork or potato masher. Apply pressure while mashing until you achieve the desired texture.
- Adjust the pressure and technique to control the level of smoothness or lumpiness.
Step 6: Cutting Fat into Flour (Pastry Cutter)
- For baking, use a pastry cutter to cut cold fat (e.g., butter) into flour. This technique creates a crumbly texture and is commonly used for pie crusts and biscuits.
- Press down the pastry cutter repeatedly until the fat is evenly distributed in the flour.
Step 7: Kneading (Optional)
- If your recipe requires kneading, such as for bread or pizza dough, use your hands to fold, press, and stretch the dough. Knead until the dough becomes smooth and elastic.
Step 8: Testing for Consistency
- Periodically stop and check the consistency and taste of your mixture. Adjust the ingredients or technique as needed to achieve your desired result.
Step 9: Clean-Up
- Clean your kitchen tools promptly after use. Wash them with warm, soapy water and dry them thoroughly to prevent rust or damage.
How can you achieve good results when blending without a blender?
Achieving good results when blending without a blender relies on several key considerations and techniques. Here are some essential factors to keep in mind:
- Ingredient Preparation:
- Properly prepare your ingredients by washing, peeling, and cutting them into manageable pieces. Uniformly sized pieces ensure even blending or chopping.
Appropriate Tools:
- Choose the right kitchen tools for the job, such as knives, forks, potato mashers, graters, or a mortar and pestle, depending on your recipe’s requirements.
Technique:
- Use the appropriate hand-mixing technique, such as mashing, chopping, or stirring, to achieve the desired texture. Pay attention to the consistency and adjust your technique as needed.
Consistency Checks:
- Periodically check the consistency of your mixture during the blending process. Adjust the ingredients or technique to achieve the desired outcome.
Recipe Guidance:
- Follow the recipe instructions closely, especially when it comes to ingredient quantities, preparation, and the order in which they should be combined.
Seasoning:
- Properly season your ingredients with salt, pepper, herbs, or spices to enhance the flavor of your blended creation.
Controlled Speed:
- When using tools like a knife or grater, control your speed and pressure to prevent over-chopping or creating an uneven texture.
Mashing Techniques:
- For mashing, apply even pressure with tools like a fork or potato masher to achieve a uniform texture. Adjust the force based on the desired consistency.
Clean Tools:
- Ensure that your kitchen tools are clean and dry before use to prevent any foreign flavors or contaminants from affecting your mixture.
Taste Testing:
- Taste your mixture as you go to ensure it meets your flavor preferences. Adjust seasonings or other ingredients as necessary.
Recipe Adaptation:
- Be open to adapting recipes to suit your blending method. Some recipes may require slight modifications to achieve the desired results when blending by hand.
Time Management:
- Allow adequate time for mashing, chopping, or blending, as manual techniques may take longer compared to using a blender.
Safety Precautions:
- Always prioritize safety when using knives or other sharp tools. Handle them carefully and keep your fingers away from the blades.
Practice:
- Like any culinary skill, practice improves your ability to achieve consistent and satisfying results when blending without a blender.
FAQ:
Question: What are some common kitchen tools for blending without a blender?
Answer: Common kitchen tools for blending without a blender include knives, forks, potato mashers, graters, and mortar and pestle.
Question: Can I achieve a smooth consistency when blending without a blender?
Answer: Yes, you can achieve a smooth consistency by using appropriate techniques and tools, such as mashing, chopping, or grating, depending on the recipe and ingredients.
Question: How do I choose the right-hand mixing technique for blending without a blender?
Answer: Select the technique based on your recipe’s requirements. For example, use mashing for soft ingredients, chopping for cutting solids, and stirring for mixing liquids.
Question: What should I consider when adapting blender recipes for hand blending?
Answer: Consider ingredient preparation, taste-testing, and adjusting seasoning or texture to suit your blending method. Practice and experimentation help adapt recipes successfully.
Question: Are there any safety precautions when blending without a blender?
Answer: Yes, practice safety by handling sharp tools like knives carefully, keeping fingers away from blades, and ensuring proper cleaning and storage of kitchen tools to prevent accidents.
Conclusion
In conclusion, mastering the art of how to blend without a blender is not only possible but also a valuable skill in the kitchen. By considering factors such as ingredient preparation, choosing the right tools, applying suitable techniques, and exercising taste and texture control, you can achieve excellent blending results. Whether you’re mashing, chopping, or stirring, these considerations and techniques ensure that your culinary creations are flavorful and satisfying, even in the absence of a traditional blender. With practice and creativity, the limitations of kitchen tools become opportunities for culinary innovation and delicious homemade recipes.


