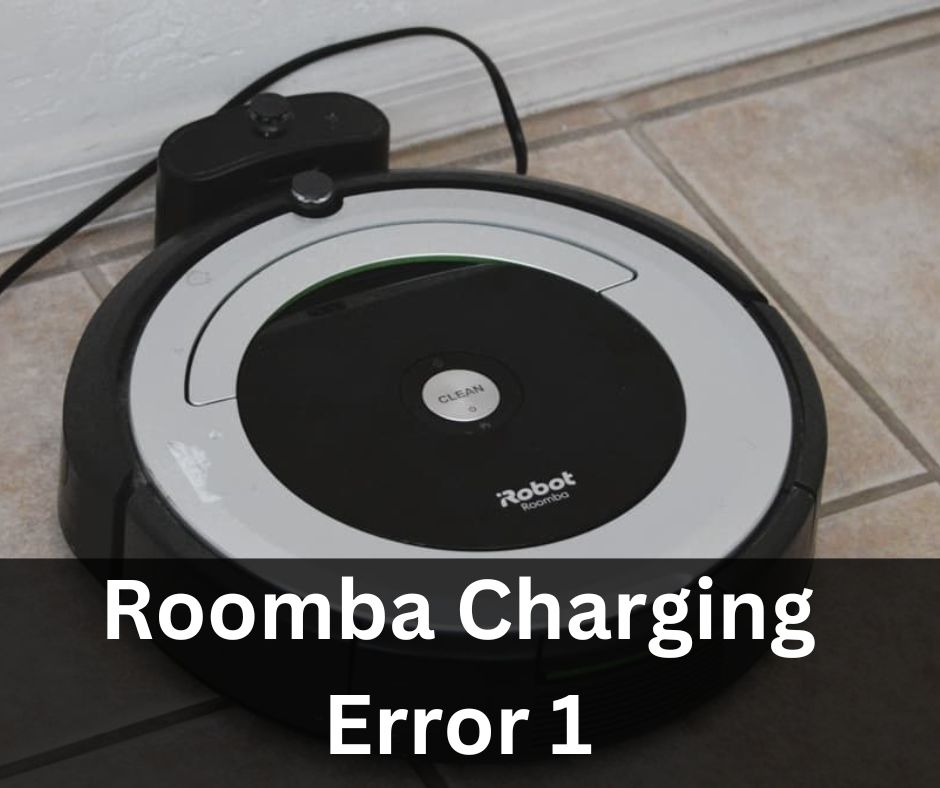
A Roomba charging error 1 can be pretty inconvenient for Roomba users. When the Roomba is unable to charge or retain a charge, this error message occurs. In this post, we’ll look at what’s causing this issue and offer some suggestions to help you repair it. This page will walk you through the process of getting your Roomba back in working condition, whether you’re new to using it or have been using it for a while.
What is Roomba charging error 1?

Roomba charging error 1 is an error message that appears when the Roomba robot vacuum is unable to charge properly or retain a charge. This error usually indicates an issue with the battery or charging system of the Roomba. Some of the most prevalent reasons for a Roomba charging error 1 are as follows:
- Battery problems: The Roomba’s battery may be broken or malfunctioning. This might be due to a number of circumstances, including aging, usage, or exposure to high temperatures.
- Problems with the charging port: The charging port on the Roomba may be filthy or broken, preventing the robot from charging correctly.
- Power supply problems: The power source for the Roomba charging dock may be defective or insufficient to charge the robot.
- Software issues: In some circumstances, the charging mistake may be caused by Roomba’s software.
When a Roomba charging error 1 occurs, the vacuum usually stops charging and displays an error message on its screen. To signify a mistake, the Roomba may beep or flicker its lights. If the Roomba cannot charge or maintain a charge, it will be unable to clean, thus the issue must be resolved as soon as possible.
If you have a Roomba charging error 1, there are a few things you may take to troubleshoot and remedy the problem. Cleaning the charging connector, verifying the power source, or restarting the Roomba’s program are all options. You may need to change the battery or contact Roomba’s customer support for more assistance on occasion.
How to troubleshoot if Roomba charging error
If you have a Roomba charging error 1, there are a few things you may take to troubleshoot and remedy the problem. Here are some troubleshooting steps for a Roomba charging error:
- Check the charging port: Make sure the Roomba’s charging port is clean and clear of debris. Remove any dust or dirt from the port using a dry cloth or a tiny brush.
- Check the power supply: Ensure that the power source for Roomba’s charging station is plugged in and operational. Examine the power outlet to ensure it isn’t controlled by a switch or a timer.
- Examine the battery: Check that the Roomba’s battery is properly connected and operational. If the battery has been used regularly or for more than two years, it may be time to replace it.
- Examine the charging wire: Ensure that the charging cable is firmly attached to both the Roomba and the charging dock. The cable may need to be changed if it is broken or frayed.
- Try a new power outlet: To check if the problem is resolved, try connecting the Roomba to a different power outlet.
- Reset the software on your Roomba: Try resetting Roomba’s program by simultaneously pushing the “Clean” and “Spot” buttons for 5 seconds.
- Please contact Roomba’s customer care If you’re still getting a Roomba charging error 1 after attempting these troubleshooting procedures, you may need to contact Roomba’s customer care. If necessary, they may be able to give additional troubleshooting procedures or replace the item.
- Attempt to charge the Roomba manually: Some Roomba models let you manually charge the battery by connecting it to a power source. If your model enables it, try manually charging the battery.
It’s vital to remember that the battery life of the Roomba will degrade with time; with regular use, the battery will last for a shorter amount of time. If your Roomba is still unable to charge after doing these instructions, it is advised to contact Roomba’s customer support for more assistance.
Install a shim to align the battery properly if you are facing Roomba charging error 1
If you have a Roomba charging error 1 and have discovered that the problem is due to the battery not being correctly aligned, you may be able to apply a shim to properly align the battery. A shim is a tiny piece of material that may be put between the battery and the charging port to assist in properly aligning the battery. Here’s a step-by-step tutorial for installing a shim to position the battery correctly:
- Remove the battery from the Roomba: Carefully raise the battery compartment lid or push the release button to remove the battery from the Roomba.
- Locate the charging port: After removing the battery, look for the charging port on the Roomba.
- Calculate the distance: Calculate the distance between the charging port and the battery. The space between the two should be very minimal, with a tight fit.
- Cut a shim to the appropriate size: To fill the space between the charging port and the battery, cut a shim to the appropriate size. A thin sheet of plastic or cardboard, or even a folded piece of paper, might be used.
- Insert the shim: Insert the shim carefully between the charging port and the battery, ensuring that it is correctly aligned.
- Replace the battery: Replace the battery and ensure that it is securely inserted in the charging port.
- Charge the battery: Charge the Roomba once again to determine whether the charging error 1 warning has been fixed.
What’s the deal with my Roomba beeping on the charger?
Roomba charging beeps might signal a charging mistake, such as Roomba charging error 1, or they could signify that the Roomba’s battery is completely charged. For more information, consult Roomba’s handbook or contact Roomba’s customer support.
How Do I Reset the Battery on My Roomba?
Resetting a Roomba battery normally entails totally draining and then recharging the battery. This may be accomplished by running the Roomba until it comes to a complete stop, then charging it until it is fully charged. For precise information on how to reset the battery for your Roomba model, consult the handbook or contact Roomba customer support.
Is the battery in my Roomba too low to start?
The Roomba may not turn on or display a low battery error message if the battery is too low to start. It is preferable to charge the Roomba battery until it is fully charged before attempting to use it again. If the battery is not charging or retaining a charge, it is advised to contact Roomba’s customer support for more assistance.
Is it possible to replace the batteries in a Roomba?
Roomba batteries may usually be replaced. The majority of Roomba models use a common rechargeable battery that is easily replaceable. If the battery is no longer charging or keeping a charge, it may need to be replaced. For further information on how to change the battery in your Roomba model, consult the handbook or contact Roomba customer care.
How Do I Set Up My Roomba for Diagnostics?
To enter diagnostic mode on a Roomba, press and hold a certain button or combination of buttons on the Roomba’s control panel. Depending on the Roomba model, the precise button or combination of buttons needed to enter diagnostic mode differs. For exact information on how to put your Roomba in diagnostic mode, consult the Roomba handbook or contact Roomba customer support.
Conclusion
Finally, Roomba charging error 1 is a notification that shows when the Roomba is unable to properly charge or retain a charge. Check the charging port, power source, battery, and charging cable, try a new power outlet, and reset Roomba’s firmware to fix this issue. If you’re still having problems, you should contact Roomba’s customer support for extra assistance. Roomba charger sounds might signal a charging mistake or that the Roomba’s battery is completely charged. Resetting a Roomba battery normally entails totally draining and then recharging the battery. The majority of Roomba models use a common rechargeable battery that is easily replaceable. To enter diagnostic mode on a Roomba, press and hold a certain button or combination of buttons on the Roomba’s control panel.


